


Installation Instructions
To complete this project, you’ll need:
Hardware:
You can find a full product guide below.
- 2-3 fully enclosed wall brackets (these come with screws, wall plugs & Allen key). Note: If your rod is under 6 ft long, you only need 2 brackets. If your rod is longer than 6 ft or has been spliced together we recommend also using a 3rd center support bracket.
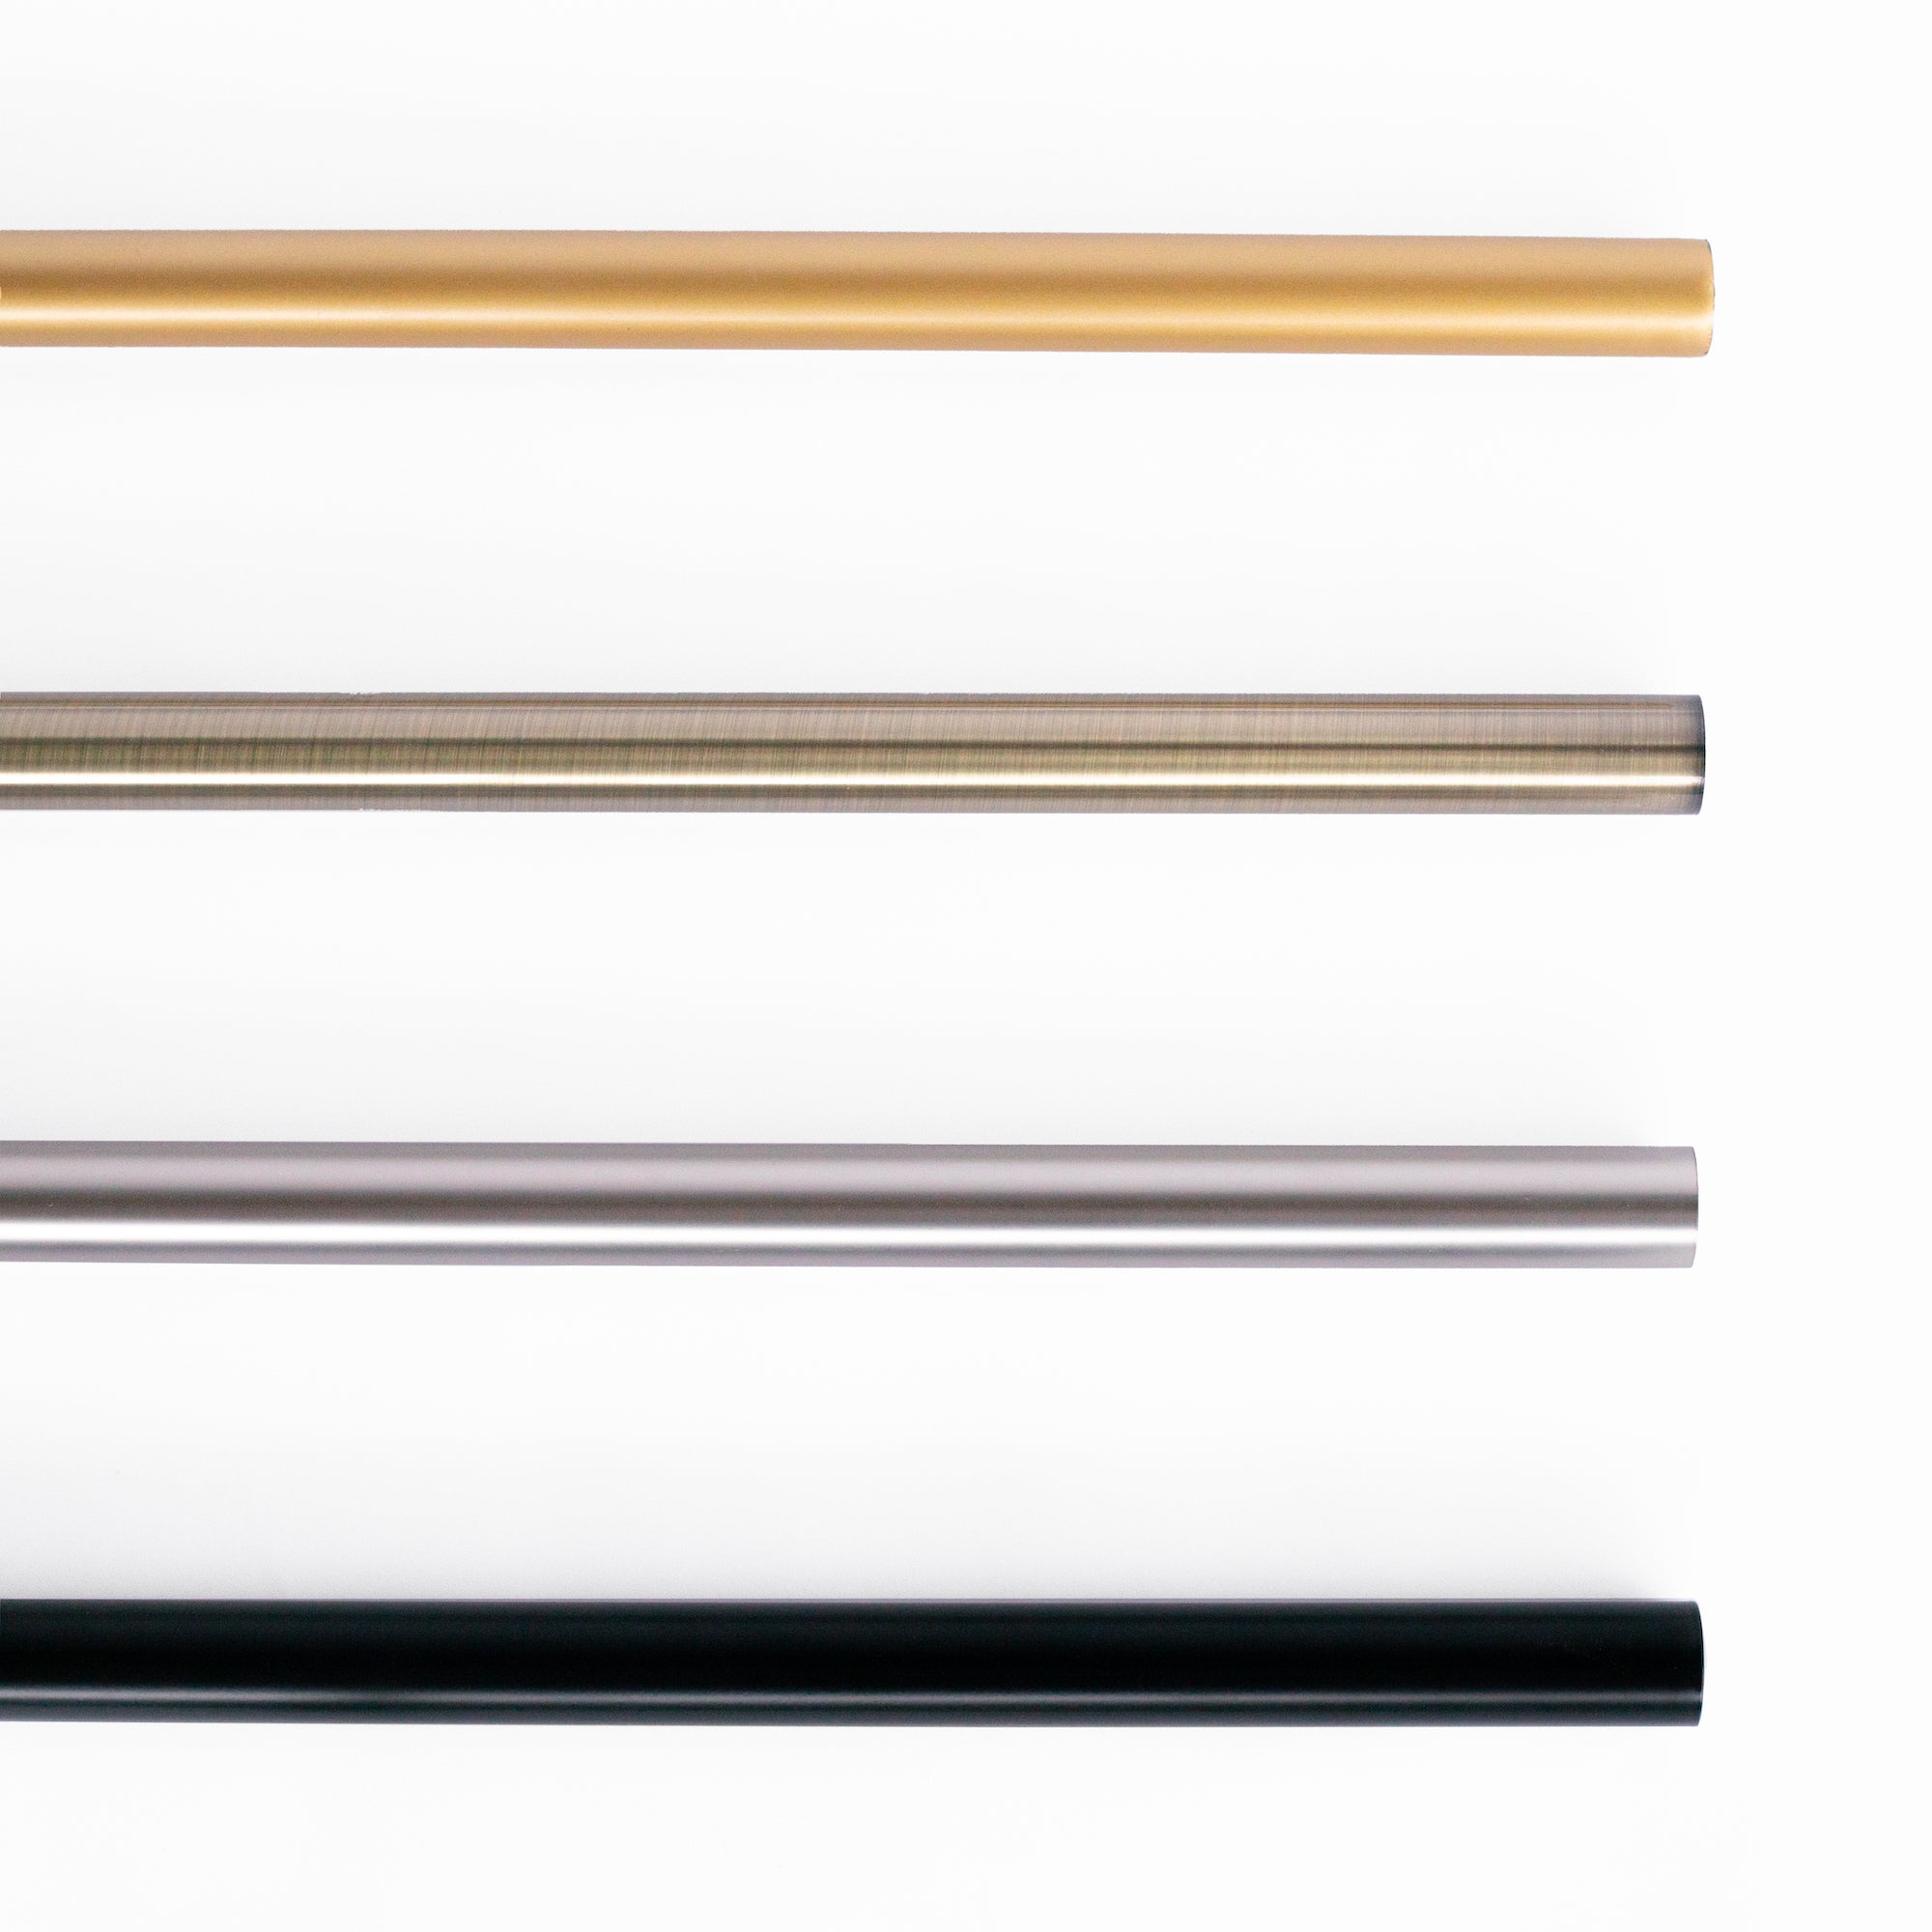
- Drapery rod
- 2+ packs of drapery rings
- End cap finials
- Drapery hooks
Tools:
- Hammer
- Drill and 7/32 drill bit
- Phillips screwdriver bit
- Pencil
- Measuring tape and ruler
- Painter’s tape
Before you get started:
- Disassemble the wall bracket (1:00)
- Determine the height of your drapery rod (note: this is measured to the top side of the rod). (1:13)
- We recommend the height of your rod fall at around ¾ of the way up, between the top of your window frame and ceiling. Depending on the scale of your window and room, and the width of your drapes, it’s a good rule of thumb to install your rod about 6-12” above your window frame, and the wall brackets about 6-12” from the side edge of your window frame.
- OR, If you already have drapery panels, measure the full length of the panel plus the length of the drapery ring to get your desired rod height. (1:41)
Steps:
- Mask off the approximate locations of your brackets with painters tape to protect your wall. (1:46)
- Use your measuring tape to identify the top height of your rod, then subtract half an inch to determine where the center point of the wall bracket will go. (1:56)
- Using a ruler, draw a 2 inch by 2 inch cross section through your marking. (2:06)
- Line up the holes in the gold backplate so that it is centered on the cross. Then mark the location of the holes. (2:15)
- Drill 3 pilot holes in the spots you just marked, then remove the painters tape. (2:32)
- Hammer in the wall plugs so they’re flush with the drywall. (2:45)
- Screw the gold backplate to the wall with either a drill or hand screwdriver and Phillips bit. (3:00)
- Install the black decorative backplate by screwing it on with the bolt. Then slide the bracket arm onto the bolt and secure it tightly in place with the Allen key. (3:27)
- Repeat steps 1 - 9 to install the other 1 or 2 wall brackets needed for your window. (3:42)
- Install the drapery rod (3:56)
Option One
If you have enough space beside your window, simply slide the rod through the brackets
Option Two (if your space is tighter) (4:09)
Before attaching the bracket arms to the wall slide them onto the rod. Then, with the help of a friend, raise the rod and arms to the wall plate and secure tightly with the allen key. - Add the drapery rings, leaving at least 2 rings on the outside of the bracket (this will help your drapery panels stay in place).
Once the rings are on, secure the rod in the bracket by tightening the small bolt with an allen key. (4:20) - Grab the end cap finials and first loosen the screw. Then place one finial on each end of the rod and tighten in place. We like to rotate the finial to hide the screw. (4:42)
- If your drapes don’t have hooks, attach the hook to the header of each panel. (4:57)
- Finish installing your drapes by sliding the hooks into the drapery rings - and enjoy! (5:07)
If you have any questions please feel free to contact us: info@tonicliving.com | 416.699.9879